Create a server with VitoDeploy
In order to manage your server with VitoDeploy and deploy your applications, you need to create a server with Vito. In this post, I will show you how to create a server with VitoDeploy.
Create a server
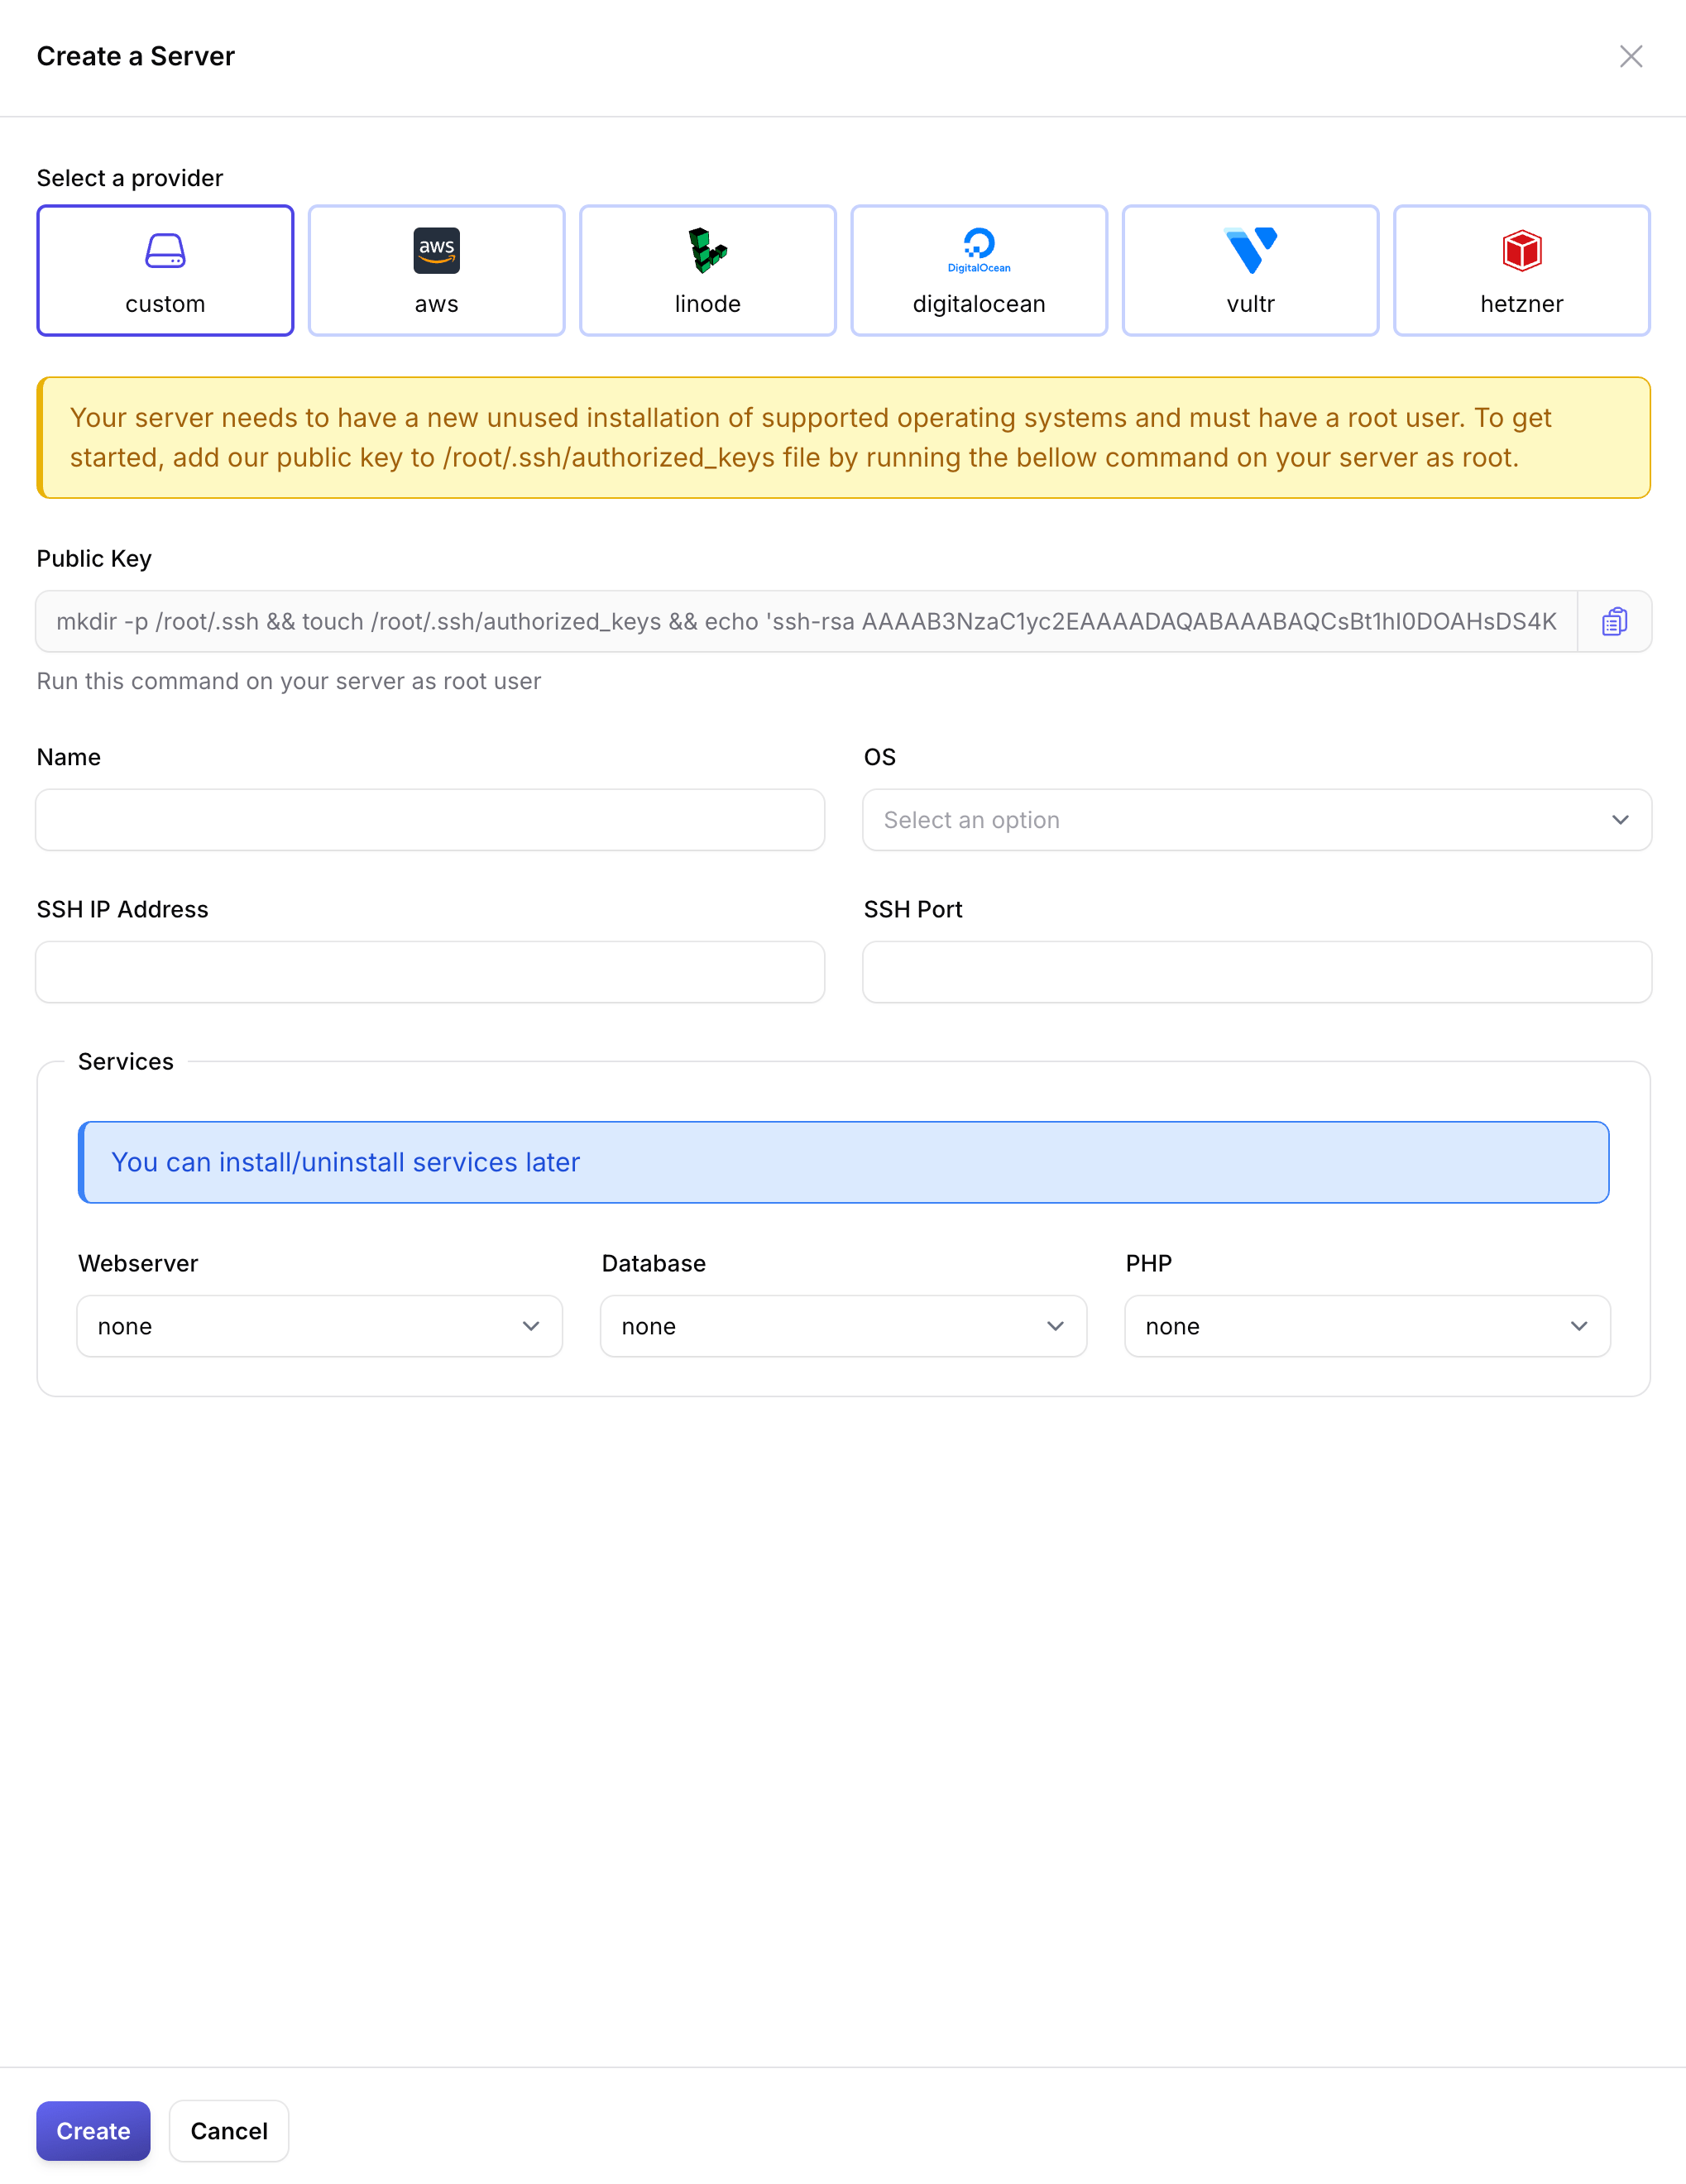
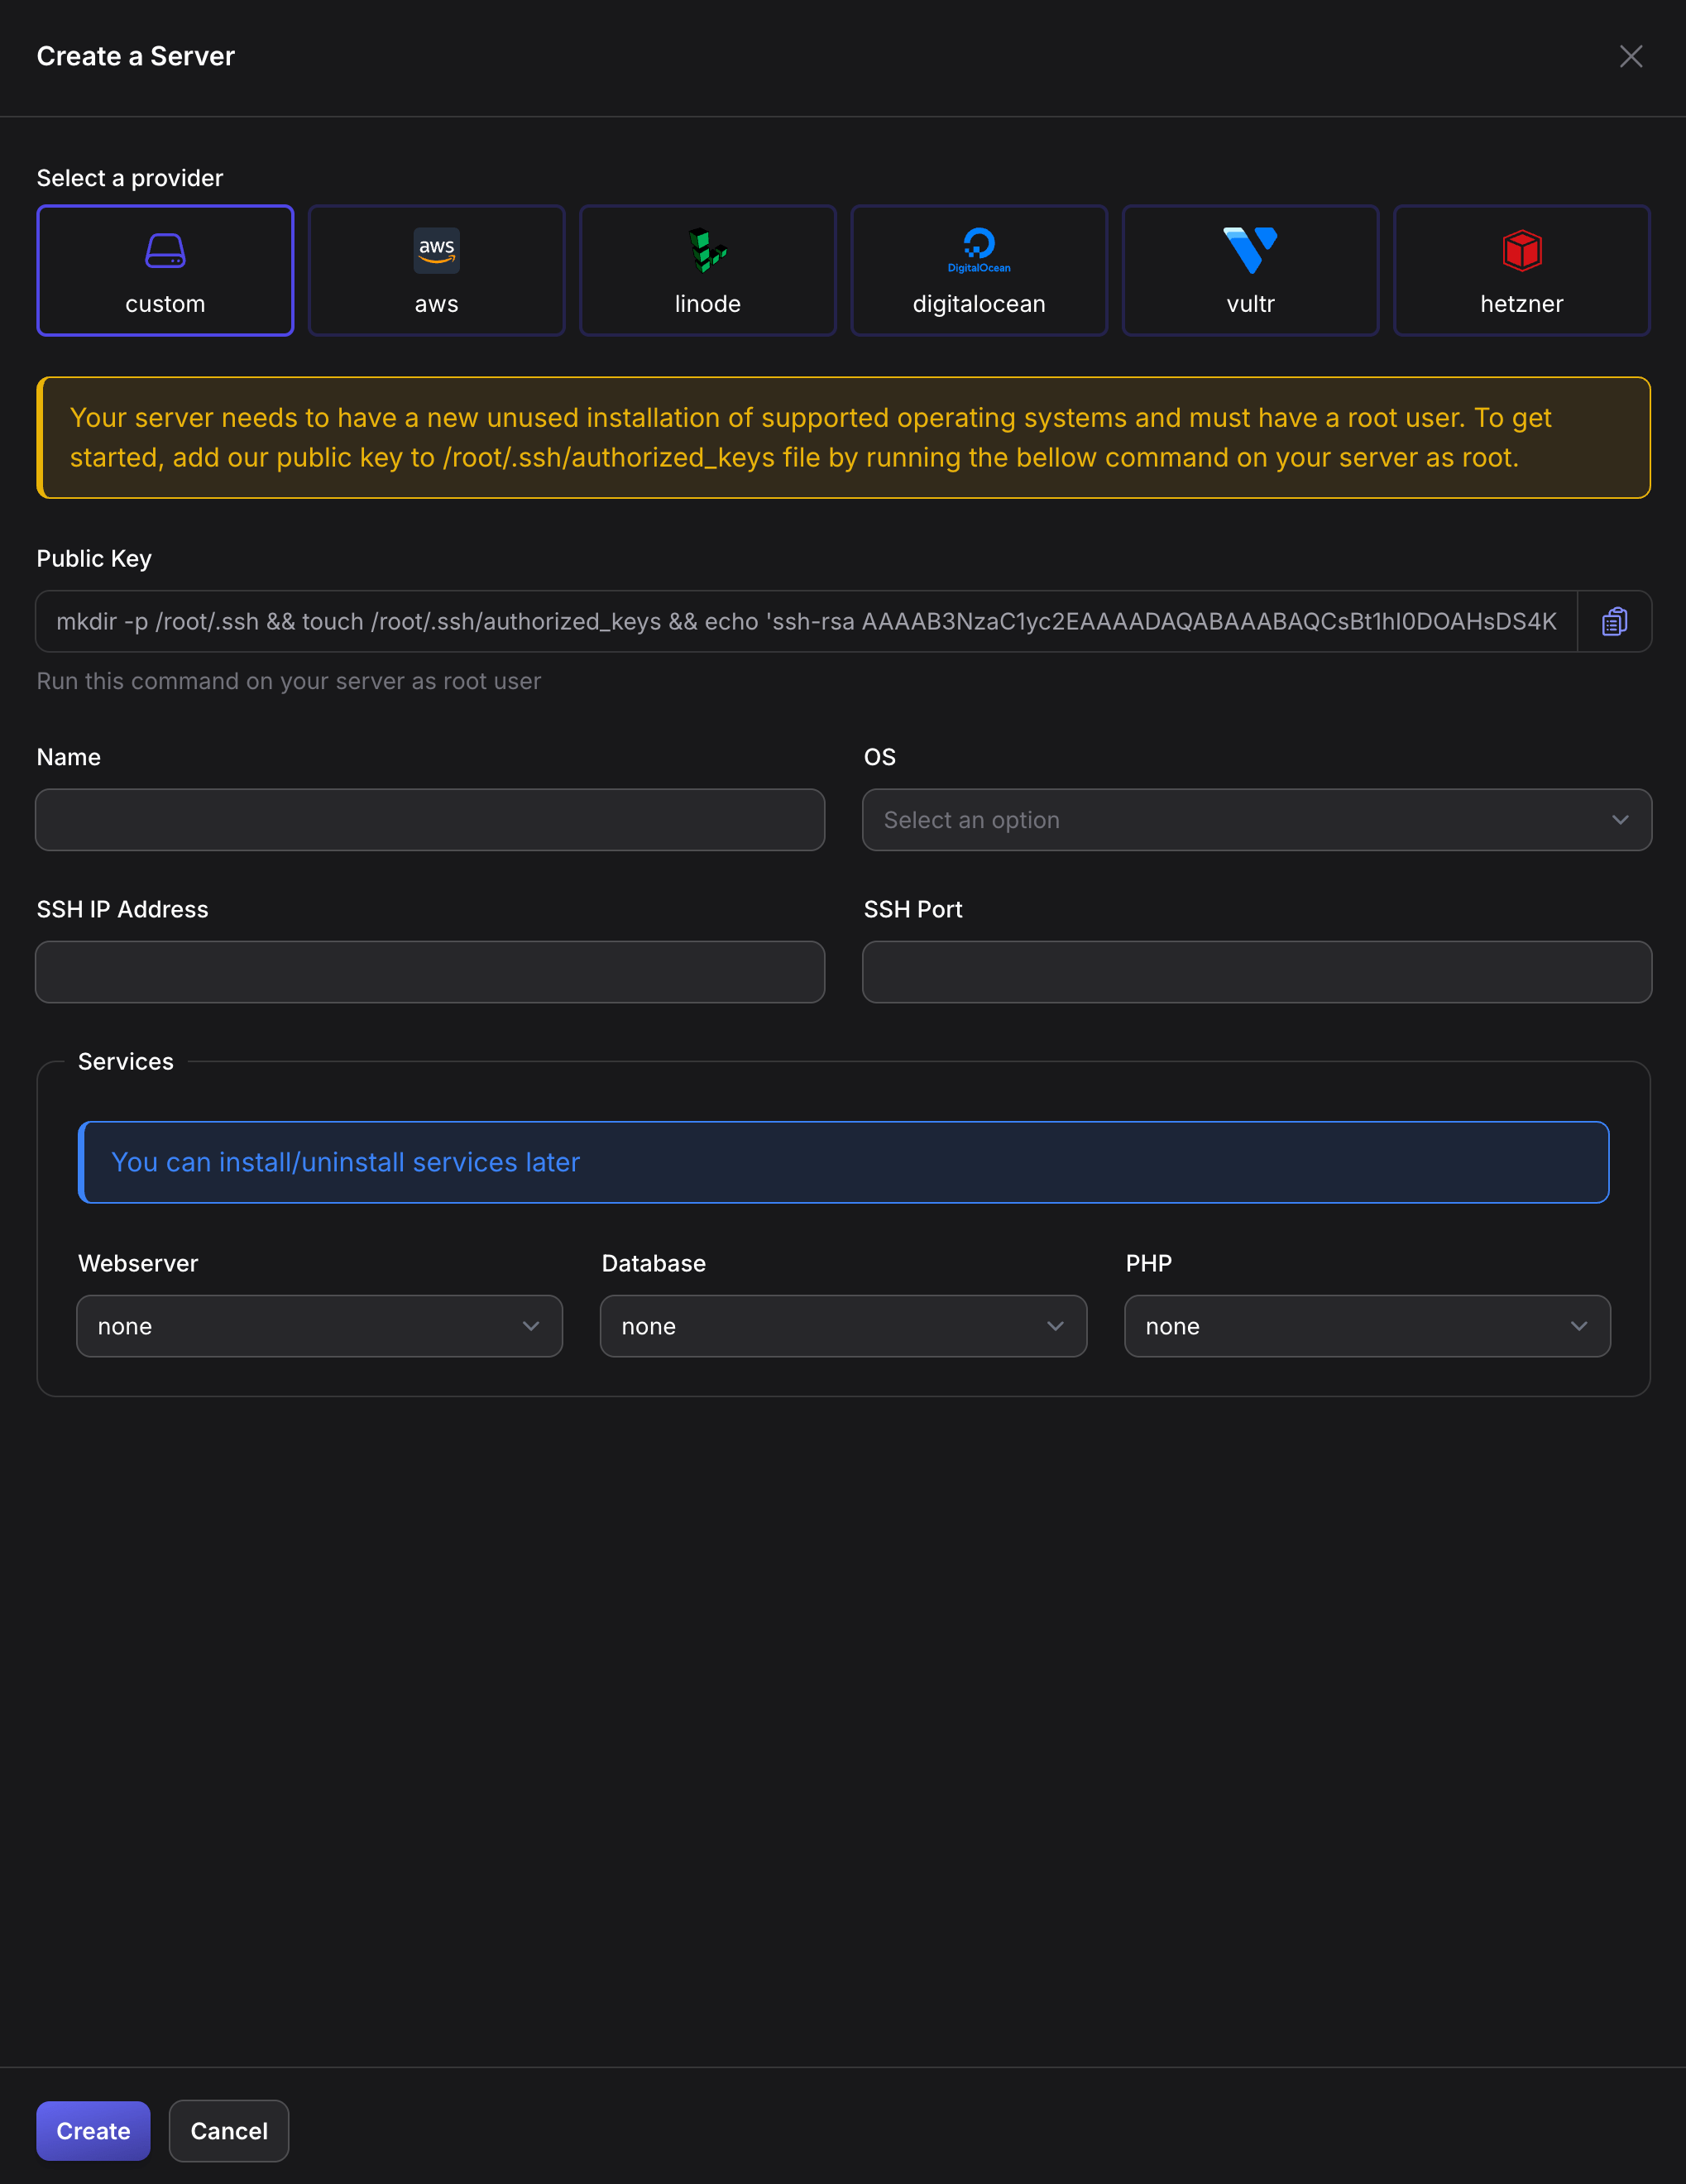
To create a server, Simply navigate to the /servers of your Vito instance and click on the Create Server button. You will see a modal like the following screenshot:


Fill the basic information about the server and continue.
Custom Server vs Cloud Providers
Vito supports a few cloud providers like AWS, DigitalOcean, Vultr, Linode, and Hetzner to create server on them. Howeverm, you can use Vito to provision a server on a provider of your own choice.
The only difference is that you need to grant Vito access to your server by adding Vito's public SSH key to your server.
Which OS to choose?
Vito only supports Ubuntu's latest versions. I recommend you to use the latest version that Vito shows you in the dropdown list.
Which services to install?
Vito is a service oriented platform. It means that you can install the services that you need on your server. For example, if you are going to deploy a Laravel application, you need to install Webserver, Database (optional), and PHP. However, if you are going to deploy a WordPress application, you need to install Webserver and MySQL.
You have the option to install the services you need in the server creation step or you can install them later.
You can always install or uninstall the services later. So, you can skip them in the installation step for faster provisioning.
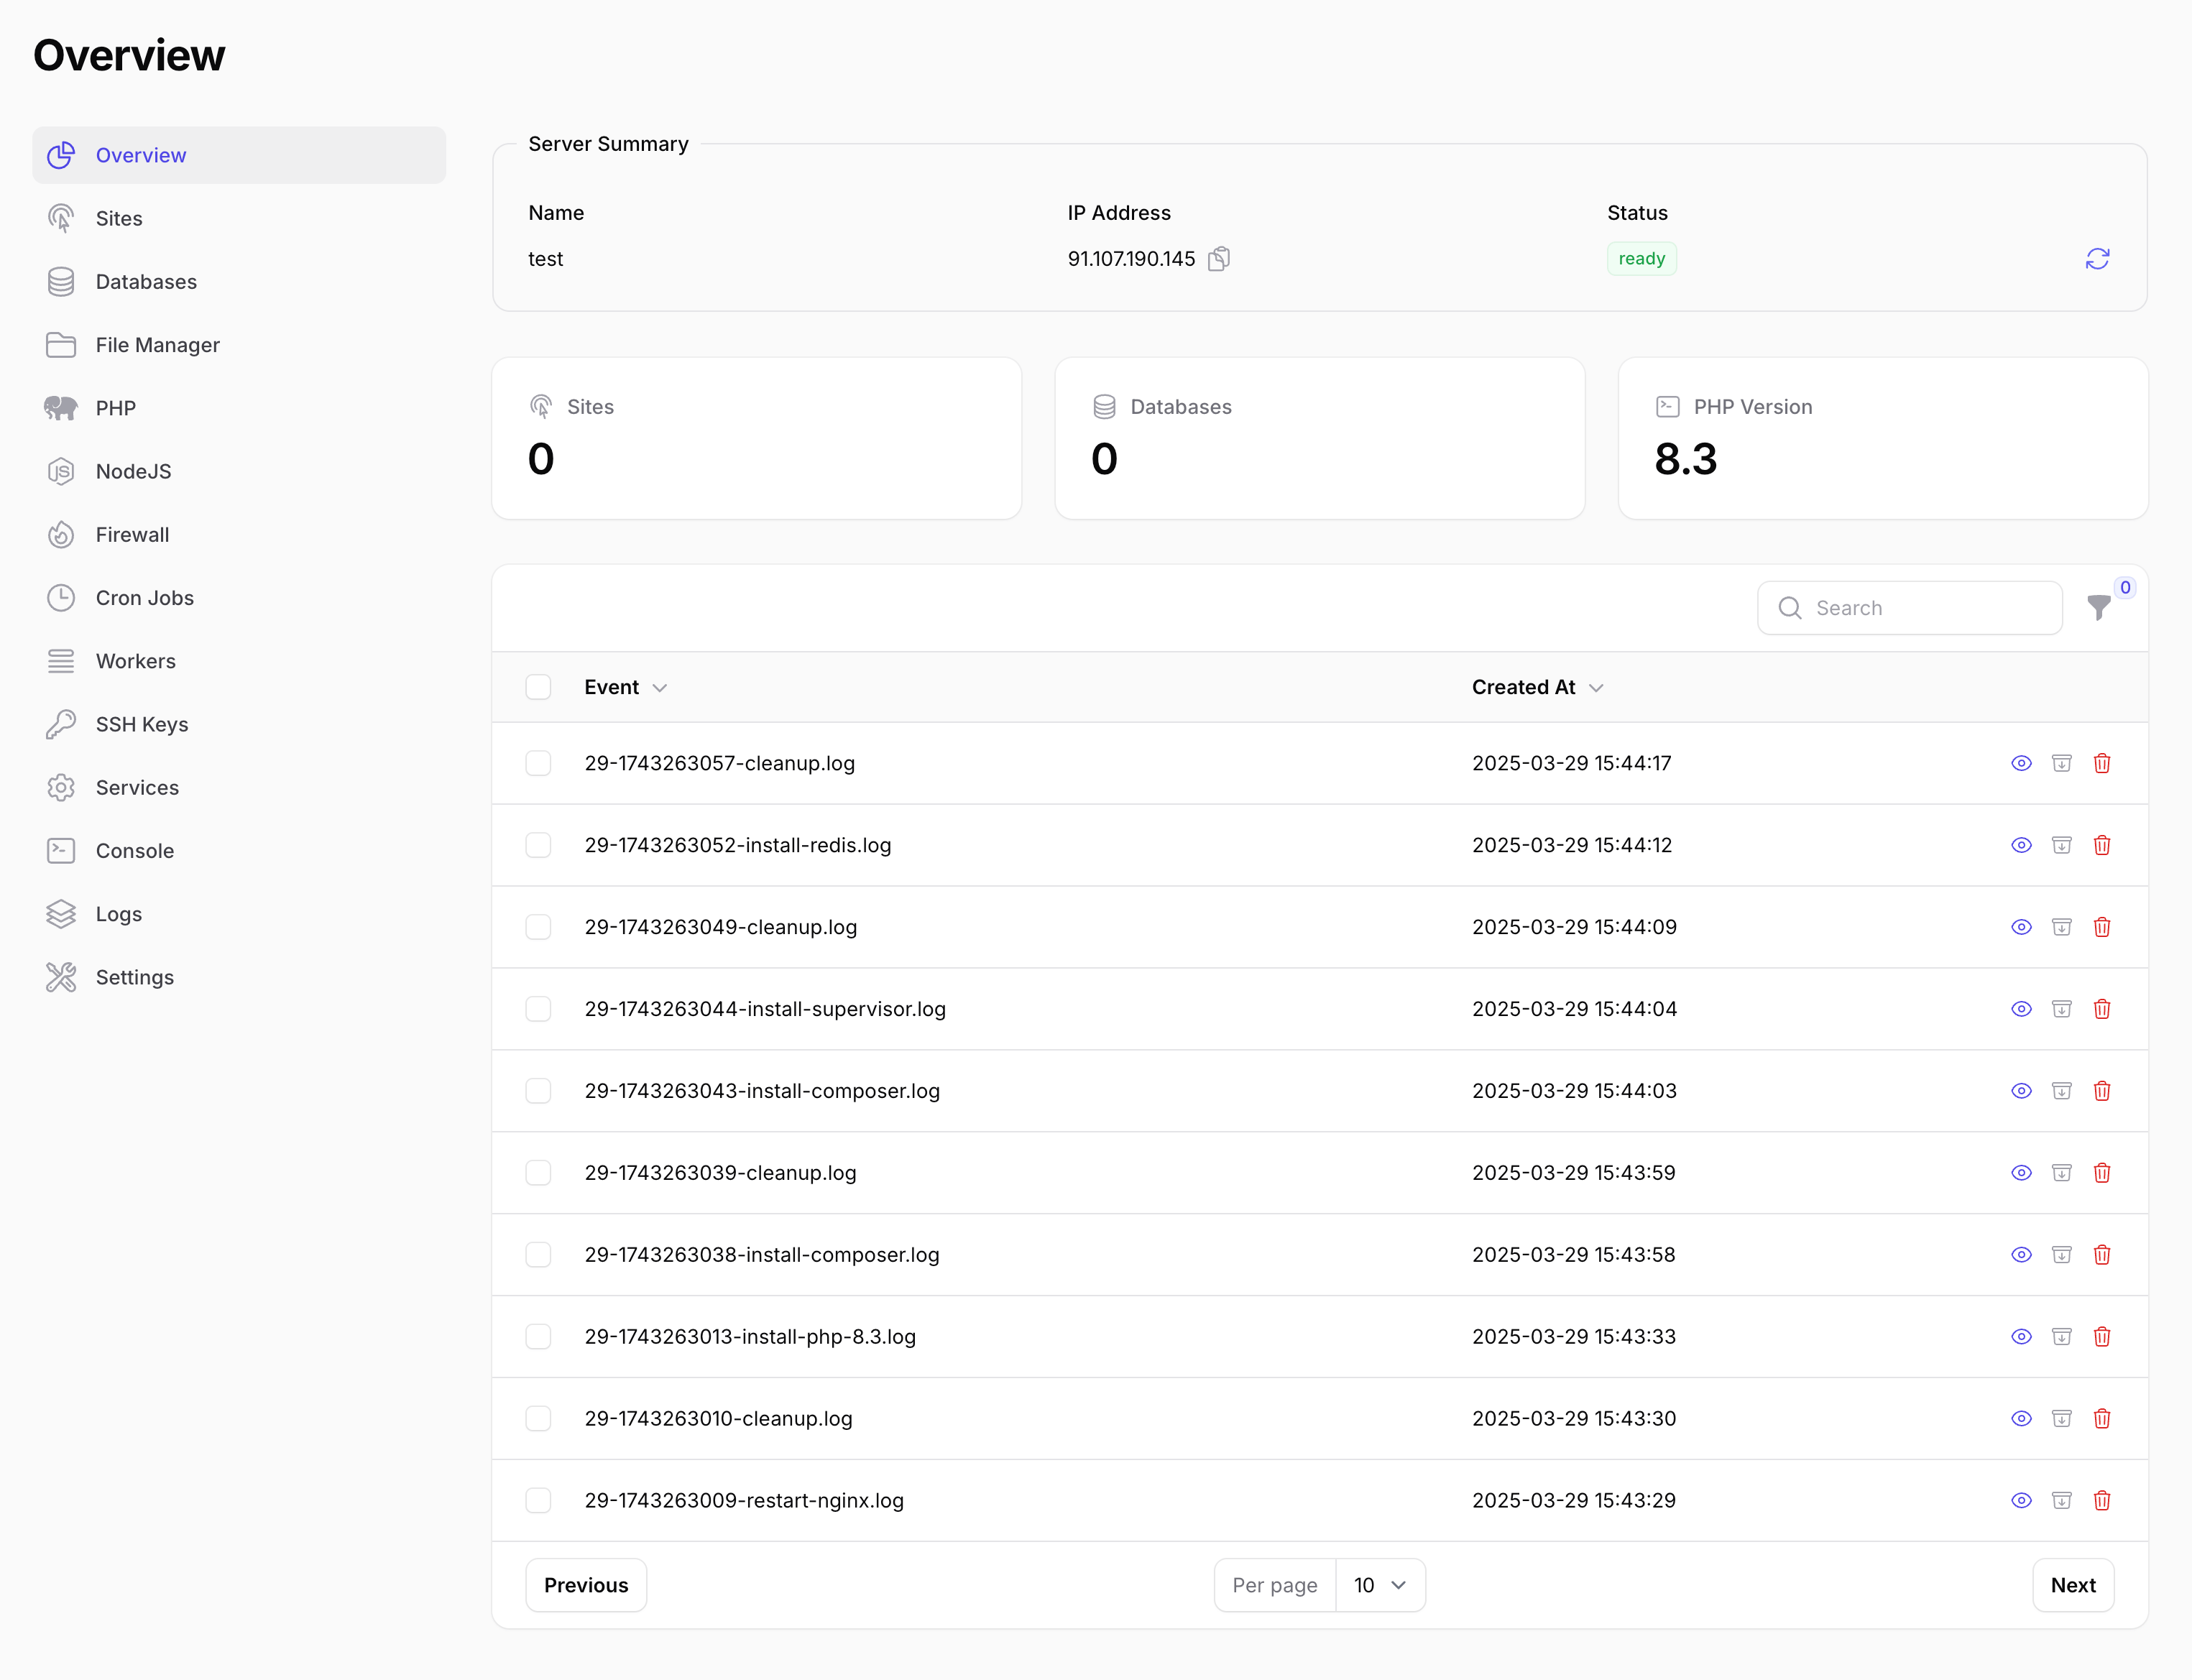
Installation Finished
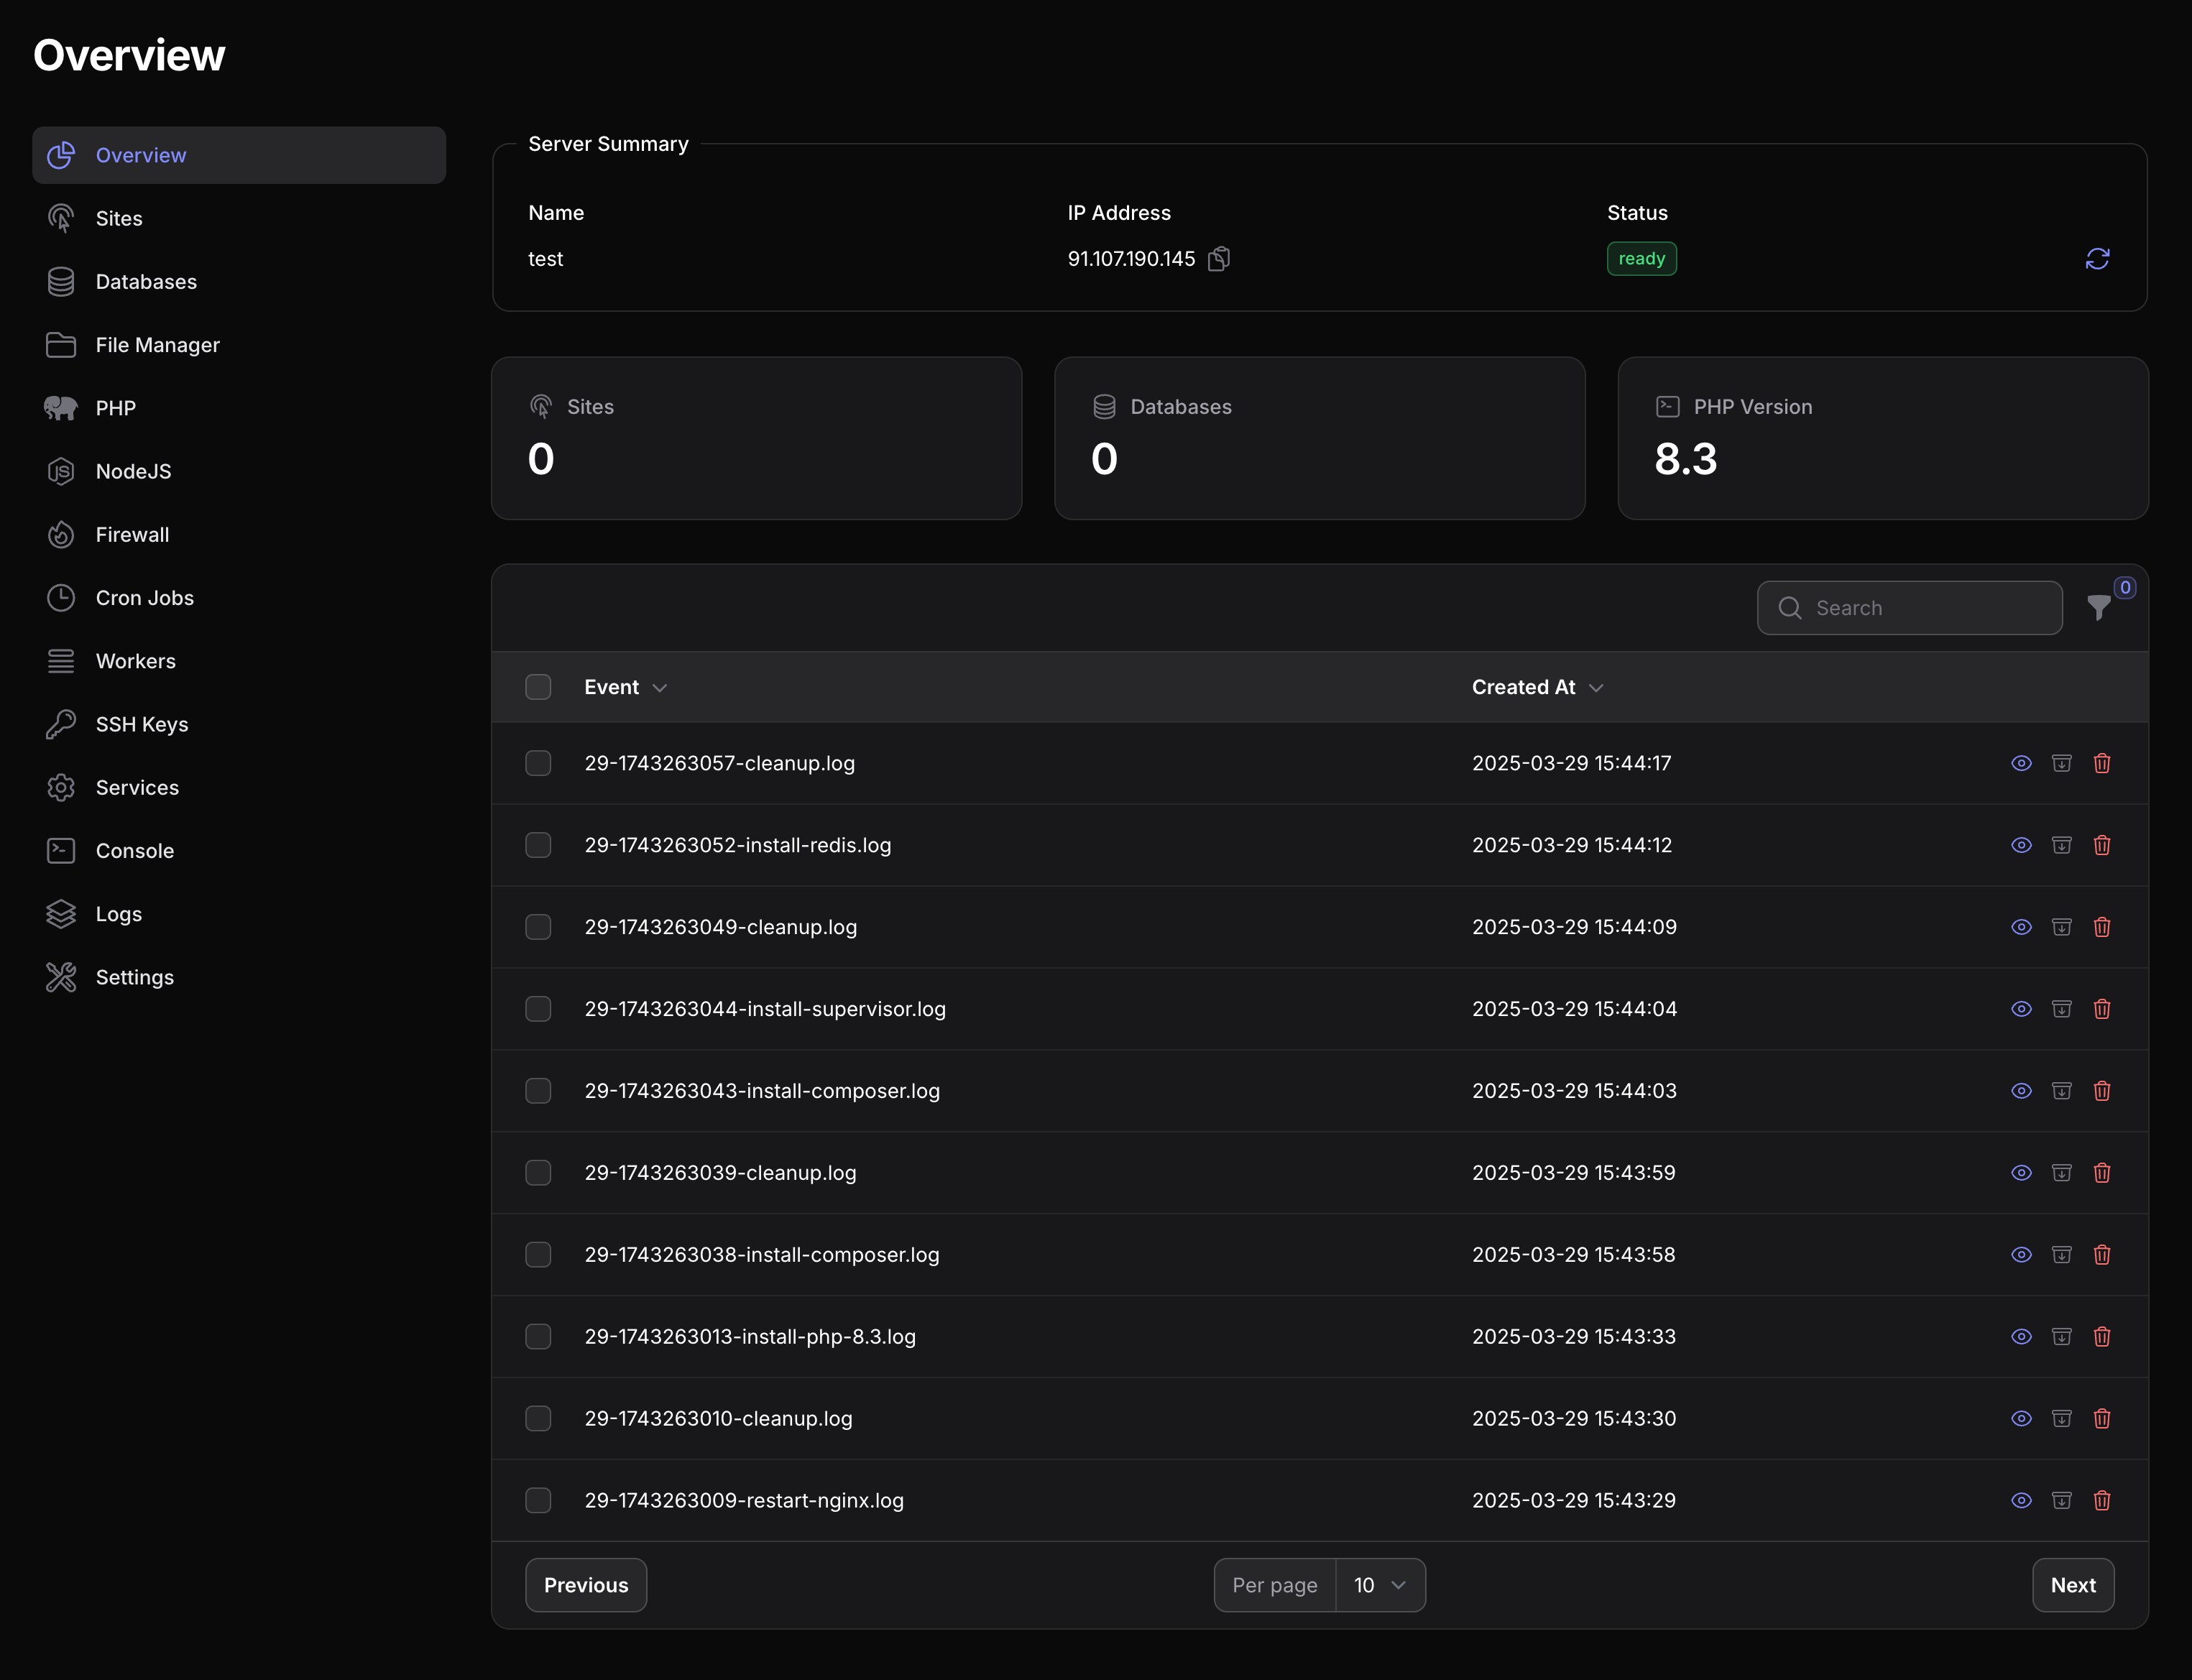
Once you click on the Create Server button, Vito will start creating your server. You can see the progress in the installation page. Once the server is created, you will land in the server overview page.


